 \r\n\r\n### Step 1. Register.\r\n\r\nClick on \"Sign up\" on the top menu and enter your Email and desirable password:\r\n\r\n
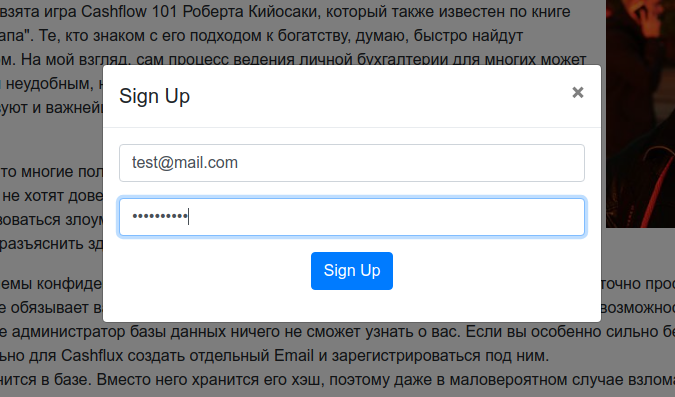 \r\n\r\nAfter that you will receive to your Email a verification link to complete the registration process. It is necessary to follow it and sign in into the service.\r\n\r\n### Step 2. Create a financial account.\r\n\r\nAfter logging in you already should be at the account list page. If it does not happen, use the menu on the top-right.\r\n\r\n
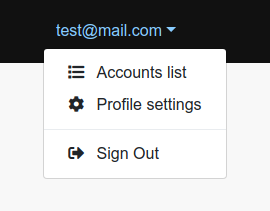 \r\n\r\nClick the button \"Add account\" and enter the necessary data.\r\n\r\n
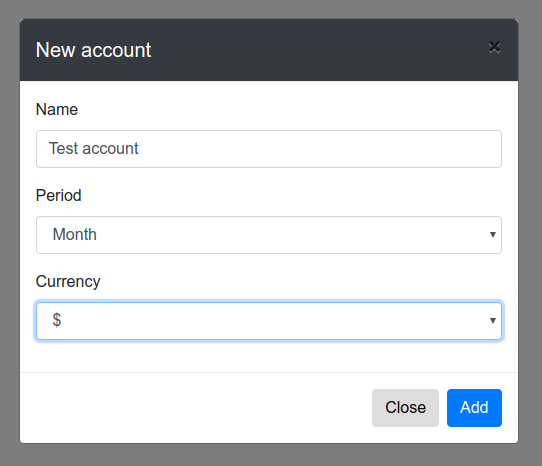 \r\n\r\nPeriod is an option related to cashflows. Most people prefer to use month interval for it. For example: salary per month, expense for food per month. So the value \"Month\" is the default option. If you need you can change it at any time in the future and after that all your cashflows will be converted correctly by the service.\r\n\r\n
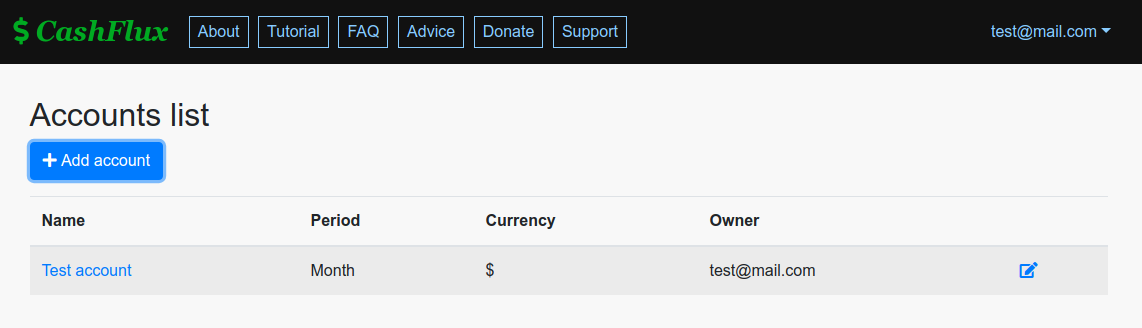 \r\n\r\nIn order to enter your account just click on it.\r\n\r\n
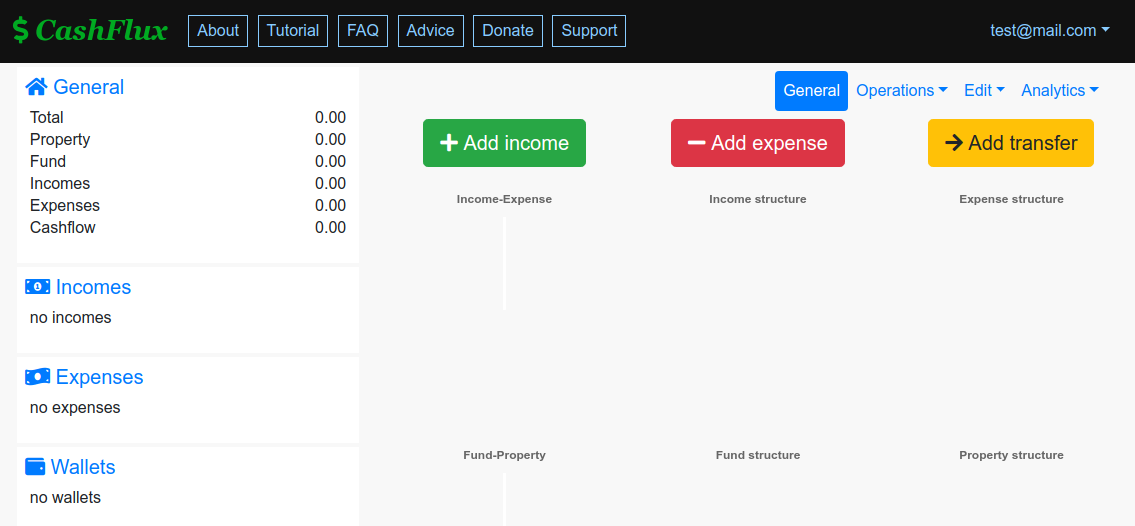 \r\n\r\n### Step 3. Create wallets.\r\n\r\nFirst, go to the wallets page.\r\n\r\n
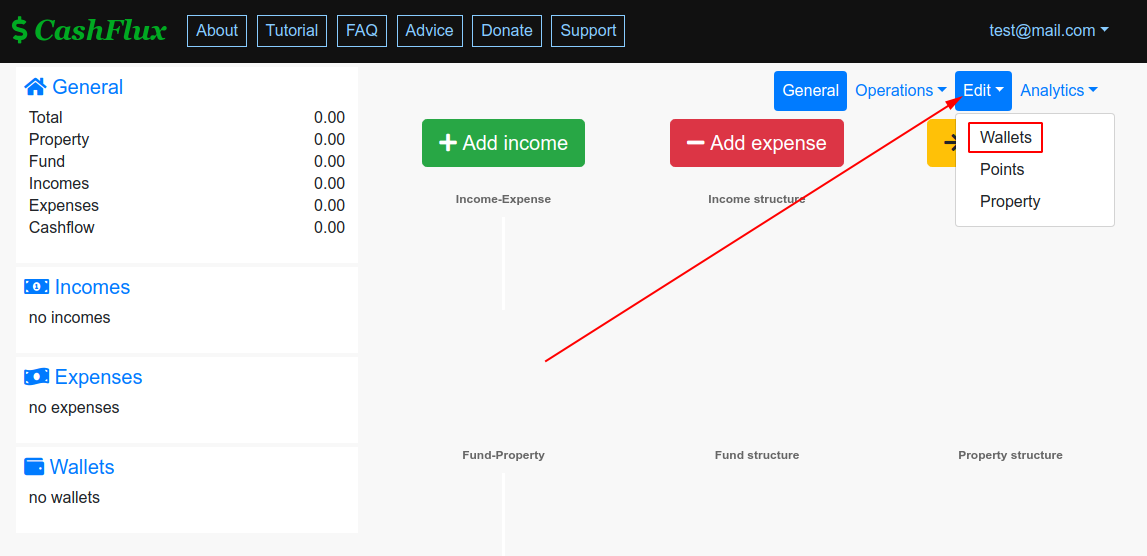 \r\n\r\nAfter that, click the button \"Add wallet\" and fill the form. It is recommended to create the wallet \"Cash\" first, because everbody uses cash, so you will need such wallet. Also be careful with the field \"Currency\". According to Cashflux's rules, you will not be able to change it in the future. So if you do need to do it, you will have to delete the old wallet first and to create a new one, specifying the currency you need. This restriction is added not without a reason. Your incomes and expenses have costs and are bound to your wallet, so if there was a possibility to change the currency this would make the service much more complicated and unobvious, adding many additional elements, or it would make a mess in your data that would be hard to resolve by hands. To keep you aside of such difficulties, I decided to prohibit editing of the currency in wallets, that, thinking deeper, does not trim the functionality down.\r\n\r\n
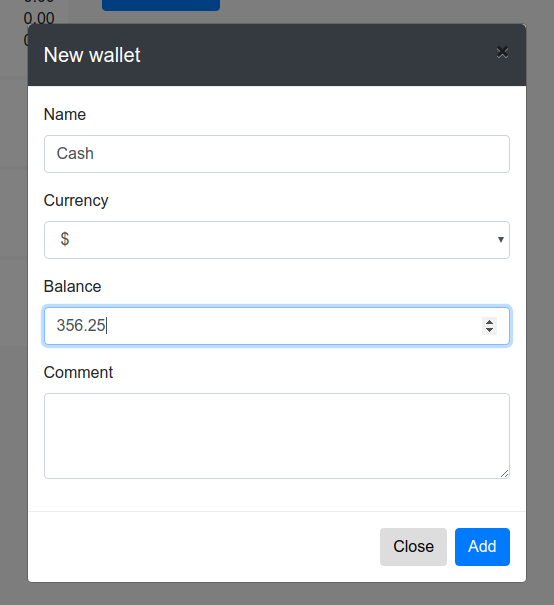 \r\n\r\nAlso for a colorful example I added two more wallets: bank card and cash in a different currency.\r\n\r\n
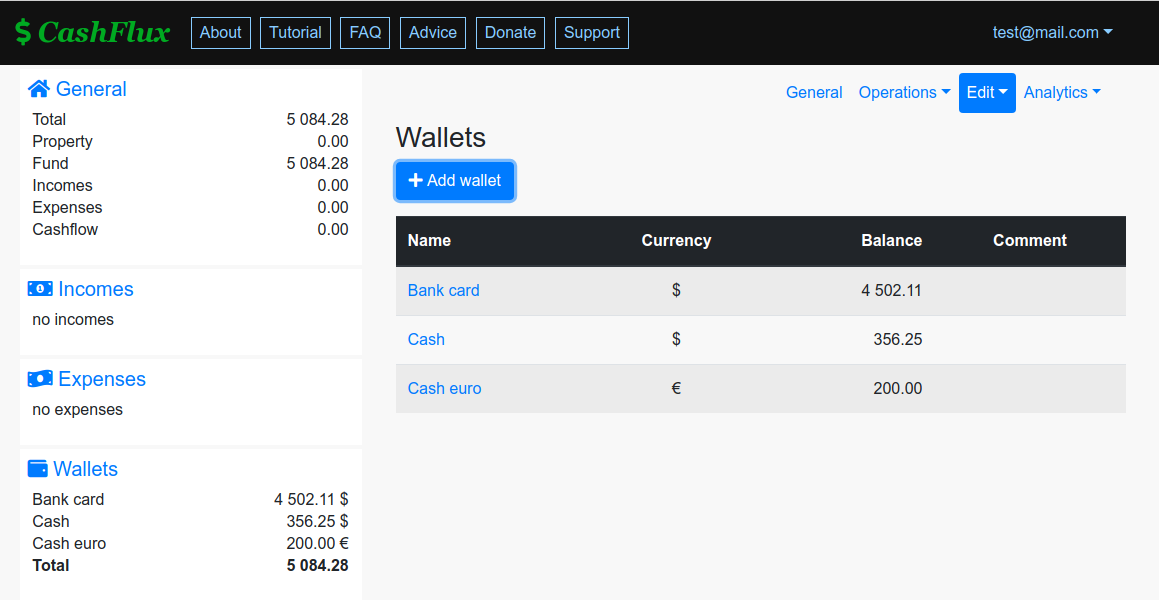 \r\n\r\nPay your attention, the total amount on the wallets is specified is the account's currency considering the currency rate.\r\n\r\n### Step 4. Create incomes.\r\n\r\nIncomes and expenses are called points. In order to create them, go to the points page.\r\n\r\n
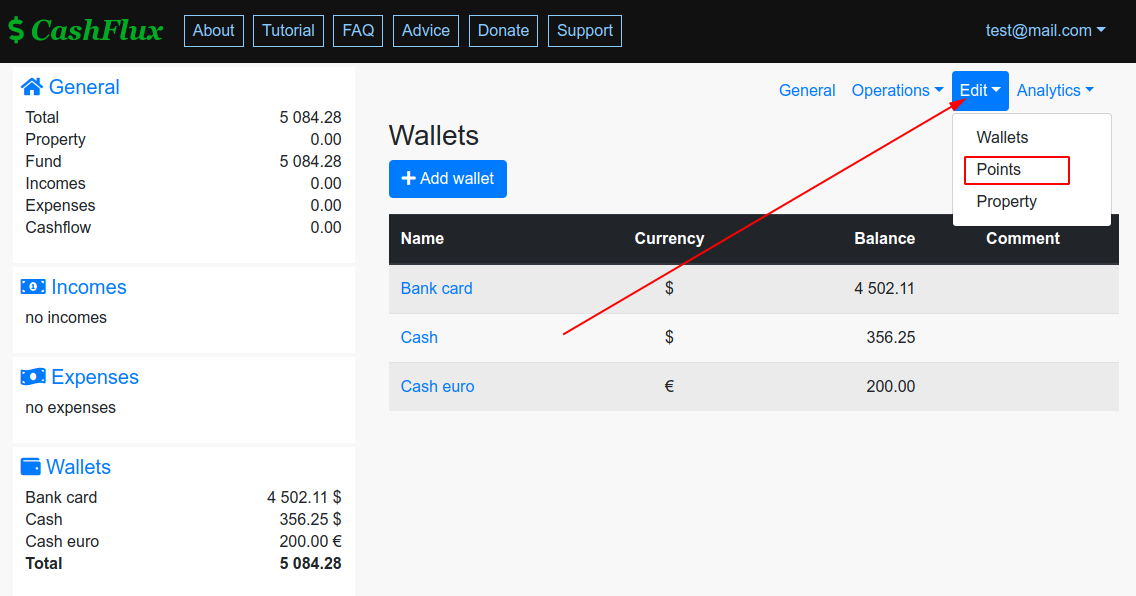 \r\n\r\nClick the button \"Add point\" and fill the form, choosing \"Income\" in the type field.\r\n\r\n
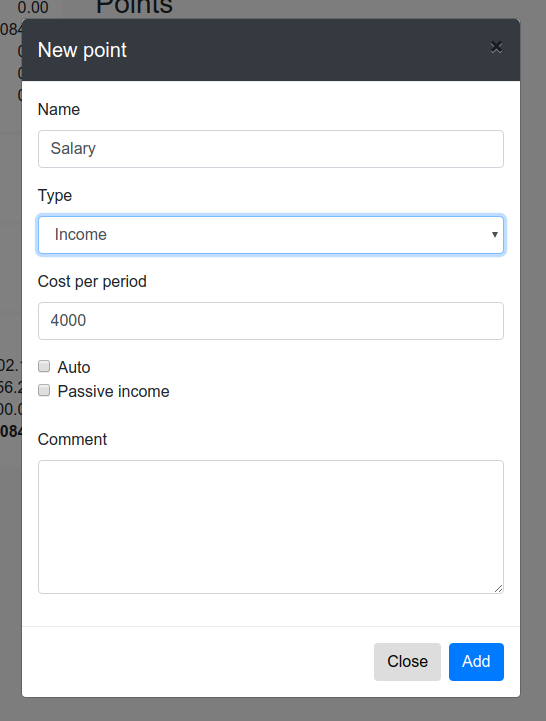 \r\n\r\nIf you have a bank deposit, it is a passive income (because it does not require your efforts to gain the money), it is recommended to create it in two steps: create a point as income with the option \"Passive income\" and create one more wallet with the amount of the deposit.\r\n\r\n
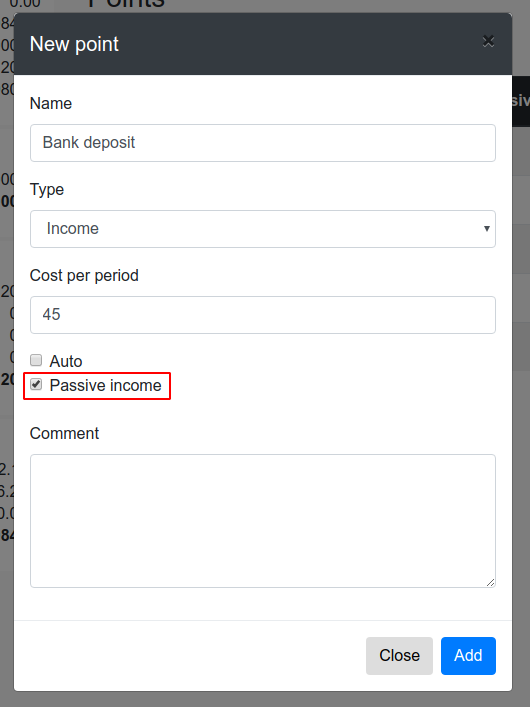 \r\n\r\n
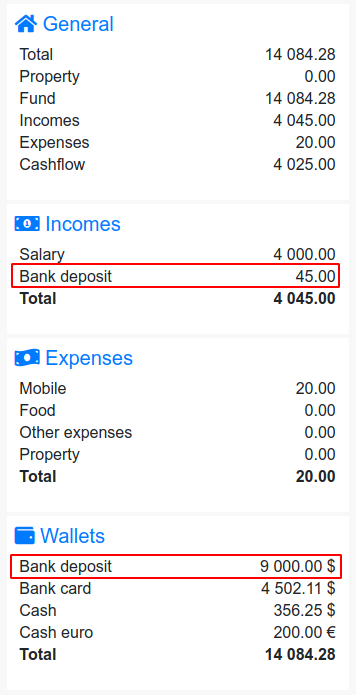 \r\n\r\nTracking your passive income is one of the most important things to control your richness level. When your whole passive income is higher than total expense, this means your working money fully covers all your expenses and you are a rich man. On the general page the rate of passive income and expense is signed as \"Richness level\".\r\n\r\n### Step 4. Create expenses.\r\n\r\nExpenses have the same page as incomes (both are point). When you create one you should specify the type \"Expense\".\r\n\r\n
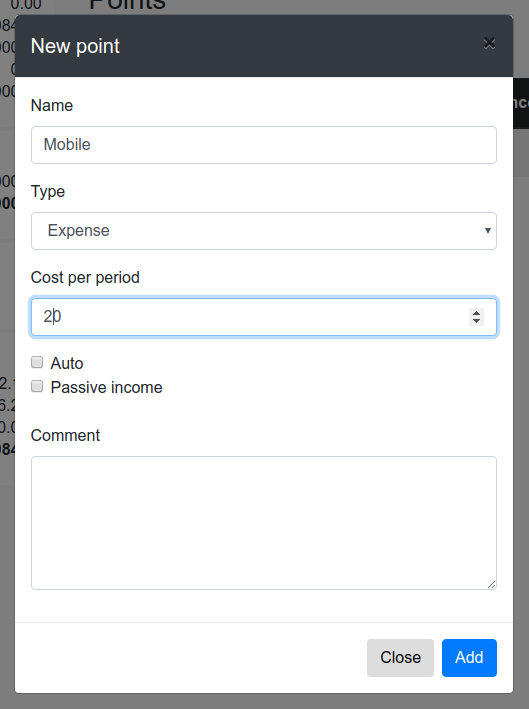 \r\n\r\nExpenses can be marked as \"auto\", if you are not sure about the value and want the service to calculate them automatically considering entered transactions. For example, for most people it is a good idea to set it for food expense.\r\n\r\n
 \r\n\r\nAlso it is recommeneded to create \"Other expense\" and \"Property\". Into \"Other expense\" you can add everything that does not fit any other point. As for \"Property\", rare big and irregilar purchases.\r\n\r\n### Step 5. Add some property.\r\n\r\nThis step is not mandatory, but it makes your numbers more complete. Follow menu Edit - Propery and add a property like a wallet or a point. If the property generates money for you (directly or implicitely), it is an asset, otherwise it is a liability.\r\n\r\n
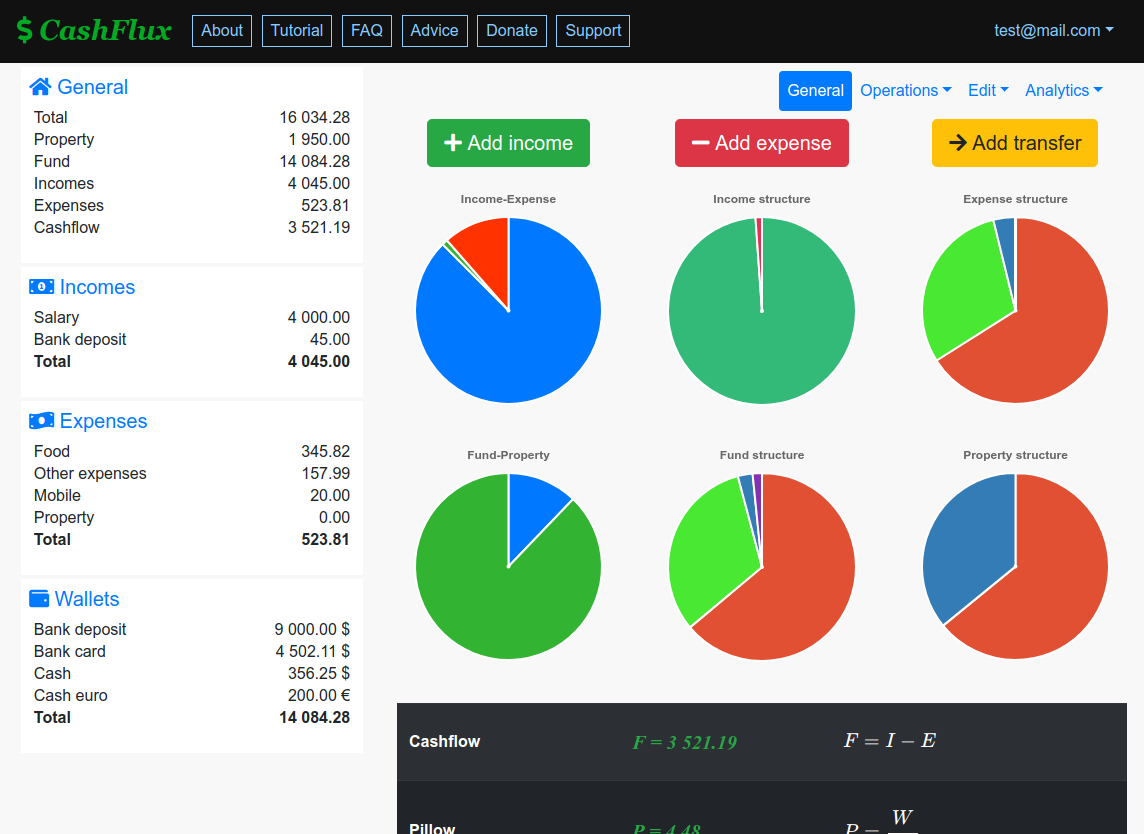
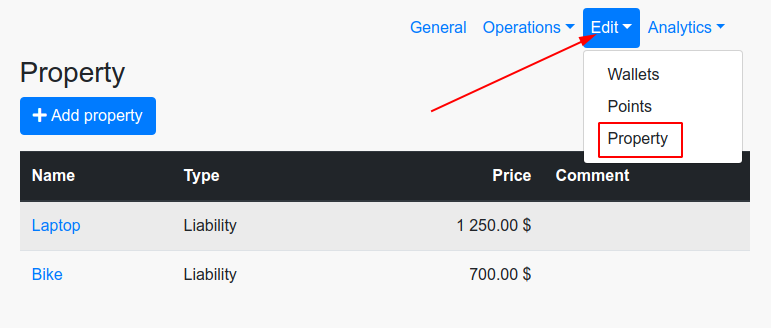 \r\n\r\n### Step 6. Add some transactions and transfers.\r\n\r\nIt can be done on the pages in menu Operations - Transactions and Operations - Transfers. Just click the button and fill the opened form. Note the checkbox Correct balance, if it is checked the balance of the wallet will be corrected automatically.\r\n\r\nIn order to demonstrate I generated a bunch of operations for two previous months. Here is the result:\r\n\r\n
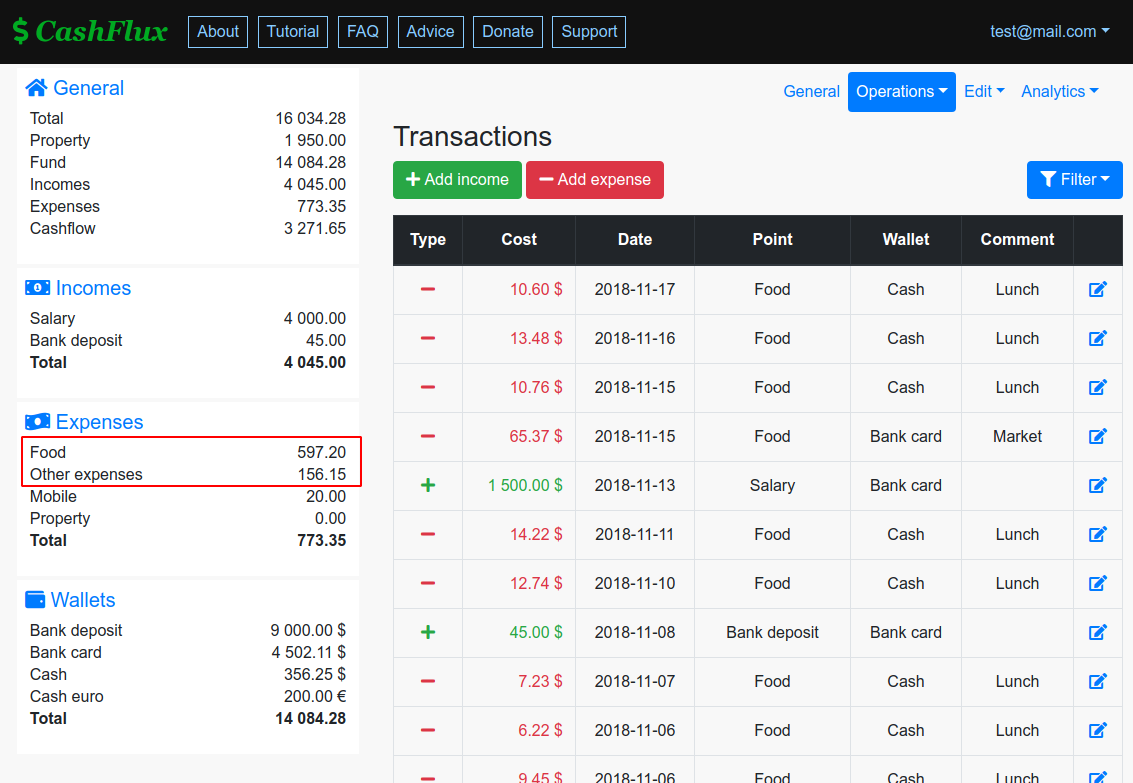 \r\n\r\n
 \r\n\r\nNote, the expenses marked as auto have been calculated with the algorithm. But keep in mind, it is not done instantly after adding or chaging a transaction. It is updating every hour only.\r\n\r\n### Step 7. Add other members of your family to manage your finances together.\r\n\r\nGo to the account list page and start editing an account. The other user must be registered in the service too.\r\n\r\n
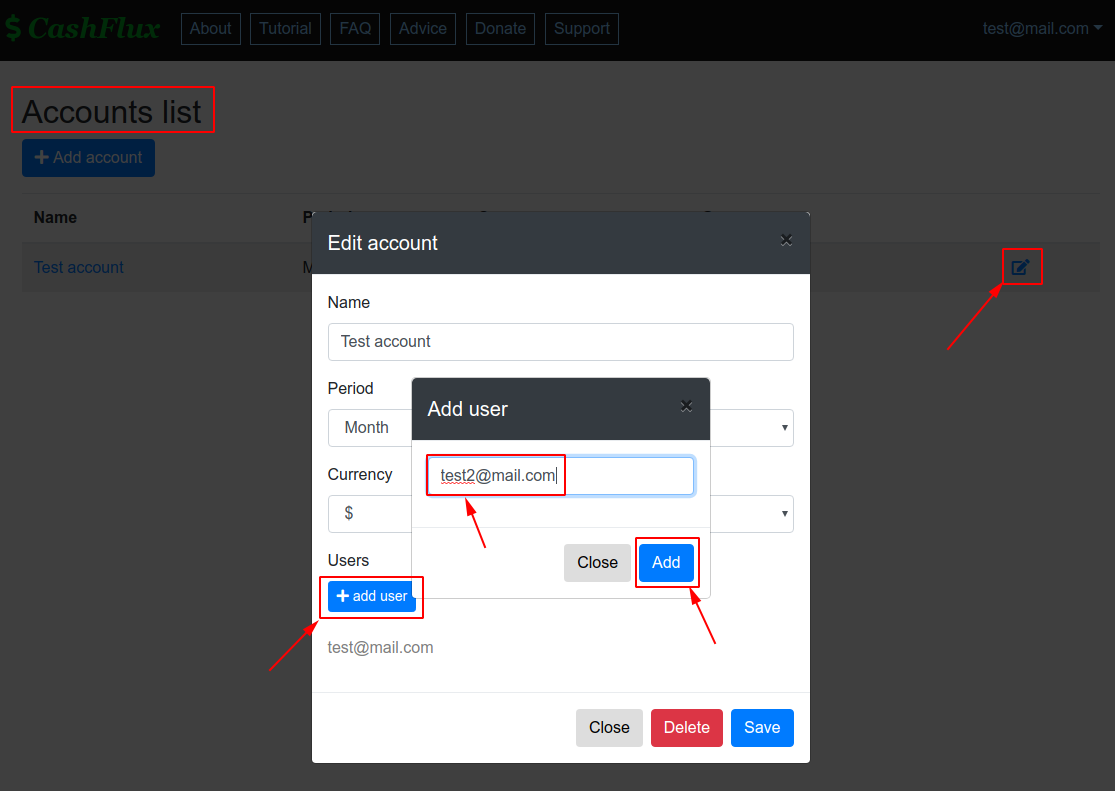 \r\n\r\nAfter adding the user the account will be shown in his list of accounts.\r\n\r\n### Done! What is next?\r\n\r\nNow your account is ready for work and you are awared about the base opportunities of the service. It is recommended to make your own research in the menu General and Analytics where you will find some visualization.\r\n\r\nIf something seems to be unclear here are some links that can help:\r\n\r\n1. Tutorial\r\n2. FAQ\r\n3. Support\r\n4. Advice